This pretty much will work for any deployment I guess, but this is specifically written for AZURE, so there might be some tweaks in here that are specific for that environment. This deployment was done via a Windows 10 machine.
In Azure, create a new virtual machine.
In my example i'm using a "PAY AS YOU GO" approach and have assigned it to a group called pbxtest1

I assigned it a virtual machine name and region
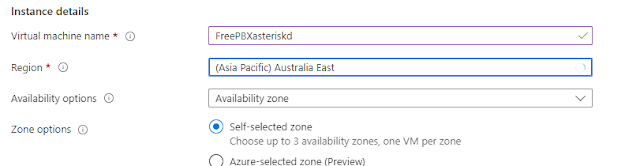
At time of writing this, the FreePBX deployment recommends Debian 12 "Bookworm"

Assign it with the appropriate CPU and RAM that you will need. For testing, I'm using a minimal system

I'm leaving everything else default. Select Review and Create

Select "CREATE" on the subsequent page, then you will be prompted "Generate new key Pair"
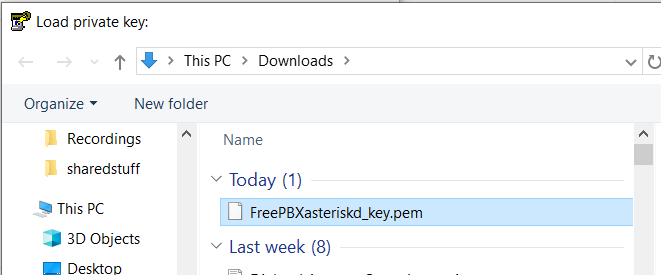
Download the private key

Your system should download the key file

Azure should start building your deployment

That will only take a few minutes to create normally.
Select "Go To Resource"

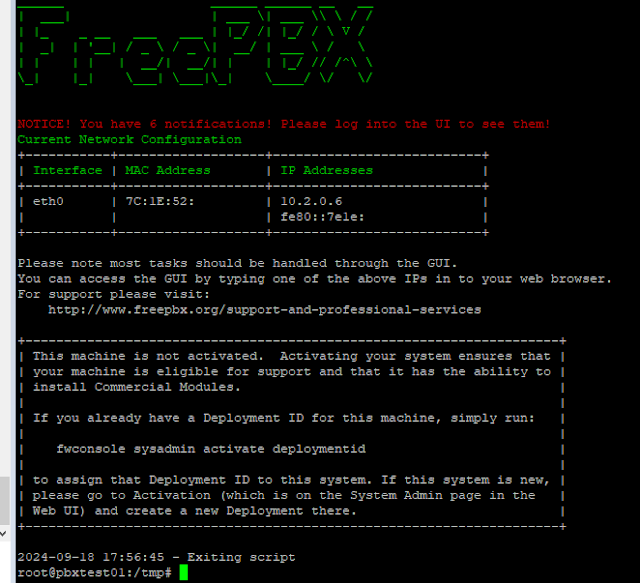
Note the IP address assigned to your instance

If you haven't already, install PUTTY from putty.org

Launch the APP " PuttyGEN


Select the key file that you downloaded upon creation of the machine
Now select "FILE" -> "Save Private Key"


Enter in the IP provided to you by Azure. Give it a name under "Saved Sessions"


Now open your saved session. If it works, you should get prompted with the similar security warning

Select "ACCEPT"

Lets update the system first (will take a few minutes depending on network and guest speed
sudo -i
Get the latest updates
#################################################################################
cd /tmp
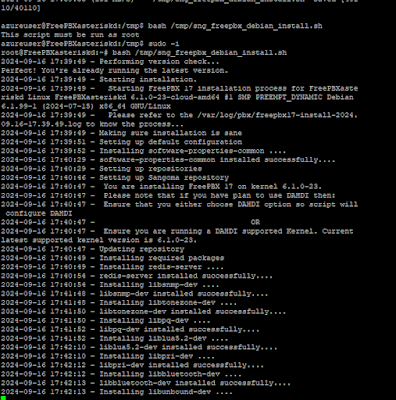
wget https://github.com/FreePBX/sng_freepbx_debian_install/raw/master/sng_freepbx_debian_install.sh -O /tmp/sng_freepbx_debian_install.sh
bash /tmp/sng_freepbx_debian_install.sh


If you have suggestions of how to improve it, let me know in the comments! Thanks!
No comments:
Post a Comment
Feel free to leave a comment! If you have any information that you think should be included, please do so here and I'll get it added in.