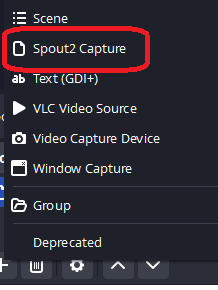
Synesthesia can output its generated backgrounds as a "SPOUT" feed, and with the proper plugin, OBS can import it. Its really similar to NDI.
Tuesday, February 14, 2023
Import SPOUT and capture it in OBS
Synesthesia can output its generated backgrounds as a "SPOUT" feed, and with the proper plugin, OBS can import it. Its really similar to NDI.
Friday, February 10, 2023
MSWINSCK.OCX problems
First, make sure that file is in windows\syswow64
Then open a CMD prompt as administrator and enter in
regsvr32 \windows\syswow64\mswinck.ocx
That should take care of it.
The error 0x8002801c occurs when there’s a problem accessing the OLE (Object Linking and Embedding) registry. Insufficient system permissions will trigger this error code when the registration of an OCX (OLE control extension) file fails to complete. This is known to happen frequently when using regsvr32 via Command Prompt on Windows 7.
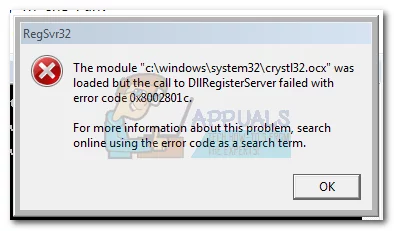
It’s a common occurrence to see this error code when trying to register an OCX file from C:\ Windows\ system 32. Most of the time, the call to the DLLRegisterServer fails because of a permission problem and has nothing to do with the actual OCX component that you are trying to register.
Fortunately, the error 0x8002801c can be avoided by copying the OCX file to C:\ Windows\ SysWOW64 and repeating the operation with administrator privileges. If you’re currently dealing with this issue, follow the step by step guide below to eliminate the error 0x8002801c and successfully register your OCX File.
Fixing Error 0x8002801c after OCX File Registration fail
- Open File Explorer and navigate to your Windows partition. Next, go to Windows > Windows 32 and use the search bar to look for the OCX file.
 Note: In this case, the file name is MSCOMCT2.OCX, but you can replicate this procedure any OCX component that fails to register.
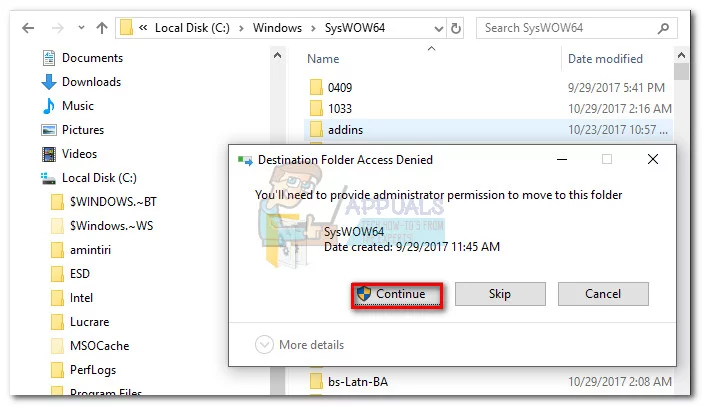
 - Copy the OCX file to your clipboard. Next, go back to the Windows folder and open up the folder named sysWOW64. Then, simply paste the OCX file there.
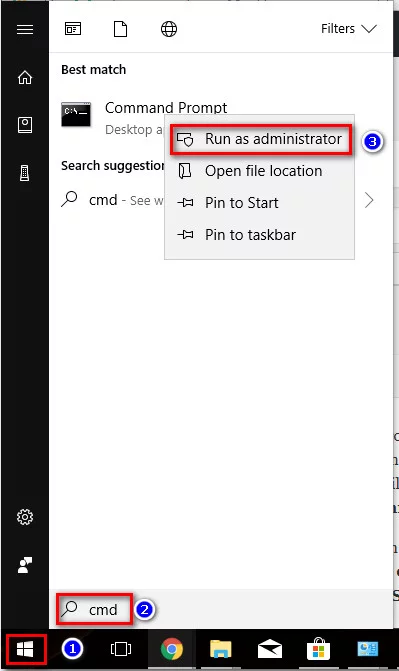
- Open the Start menu (bottom-left corner) and type “cmd“. Then, right-click on Command Prompt and click on Run as Administrator.
- In the Elevated Command prompt, type regsvr32 + the OCX component. In our case, the final command would be “regsvr32 MSCOMCT2.OCX”. Upon hitting enter, you will be prompted with a message telling you the file was successfully registered.
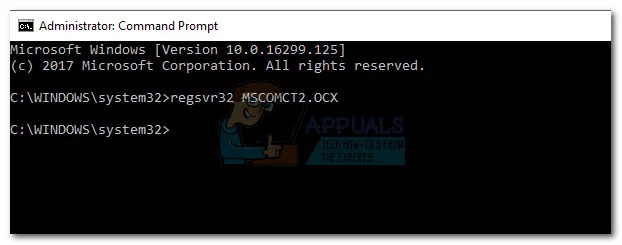
That’s it. You can use these four steps to grant proper permissions to any OCX file that is causing the 0x8002801c error code. Most of the time it will allow you to register the ActiveX component and eliminate the issue.
Tuesday, February 7, 2023
Some general Asterisk dialpaln code
Save a Voice recording into a MySQL database
Here is an example of an Asterisk dialplan that asks for a voice recording and then saves it into a MySQL database:
[macro-record-and-save]
exten => s,1,Answer()
exten => s,2,Record(recording:/tmp/recording)
exten => s,3,System(mysql -u [username] -p[password] -h [host] [database] -e "INSERT INTO recordings (filename) VALUES ('/tmp/recording')")
exten => s,4,Hangup()
MySQL username, password, host, and database name.
If the caller presses 1, they are transferred to the sales extension.
If the caller presses 2, they are transferred to the support extension.
If the caller presses 3, they are transferred to the billing extension.
If the caller does not press a key, they stay on the line for 10 seconds before being disconnected.
Each department extension plays a message indicating which department the caller has been transferred to and then waits for 10 seconds for a representative to answer.
The Background command plays a message asking the caller to enter their 4 digit passcode. The WaitExten command waits for 10 seconds for the caller to enter a 4-digit passcode.
Sunday, February 5, 2023
Setting up Sony SRG X120 X400 cameras with RM-IP controllers
This is a kind of high-level setup of X120 cameras.
Essentially:
Cameras will need to be accessible from the IP network as the controller. You can HTTP to each camera's ip address and lock in an IP address.
Then use the IP controller app SONY PTZ SRG-X120 - Google Drive called "RM-IP"
Make sure that you have the cameras setup into group and with unique names. The group number coincides with the RM-IP10 controller.
On the controller itself there are two rows of DIP switches. Bottom row, #8, you set to on to allow writing. Power cycle the controller, the lights on the controller will blink continuously.
Go to the RMIP app, and you should be able to select the controller (assuming all on same network).
under "CAMERA TABLE" what I do is select the spots that I want to occupy a camera, then use "AUTO ASSIGN" then assign the IP range(s) of the cameras I want.
Apply it, and then once you have done that. Flip the switch 8 on the controller back to normal position and power cycle it. Should be good to go.

