Thursday, May 9, 2019

Ford onboard dashboard diagnostics


Ford onboard diagnostics dashboard test mode

Enter the Ford HEC Dealer Test Mode

  1. With the truck off, press and hold the SELECT/RESET button on the instrument cluster.
  2. Turn the ignition switch to the on position while the button is pressed
  3. Continue pressing, "test" will appear on the odometer.
  4. Start the truck (keep the dash button down)
  5. Released the button to remain in the dash test mode.
  6. Pressing the SELECT/RESET button now will advance through the parameters.
Display Descriptions

Here's the odometer function followed by a description.  Not every display listed may be on your truck.  05-07 added values that 03 / 04 didn’t have

GAGE= Sweep of all gauges (then present current gauge values).  Also carries out the checksum tests on ROM and EE. If the gauge sweep is inoperative, INSTALL a new instrument cluster.

BLUB= Illuminates all micro-controlled indicators and LEDs. Install a new indicator or LED as necessary. 

R####= Returns to normal operation of all micro-controlled indicators and LEDs and displays hexadecimal value for ROM level. If alternating flashes for FAIL and ROM level are displayed, INSTALL a new instrument cluster. 

EE= Displays the hexadecimal value for EE level . If alternating flashes of FAIL and EE level are displayed replace instrument cluster. 

DT= Displays hexadecimal coding of final manufacturing test date .

DTC = Displays continuous DTC's in hexadecimal format. Pressing the SELECT/RESET button will display any DTCs stored before proceeding to the next step. See index below for description of trouble codes. 

###C  Gas engines display last temperature gauge input value from SCP, temperature gauge will indicate present temperature. Diesel engine displays present temperature analog/digital input in decimal as a ratio, temperature gauge will indicate present temperature.
  
ENG= Displays the English speed in MPH. Speedometer will indicate present speed within tolerances. Display will show 0 if input in not received. If input is invalid for one second or more, or if speed is 0. 

M= Displays the metric speed data in kph. Speedometer will indicate present speed within tolerances. Display will show 0 if input in not received. If input is invalid for one second or more, or if speed is 0. 

TAC= Displays the tachometer data received from the PCM via the SCP network within tolerances. Tachometer will indicate present RPM. Display will show 0 if input is no received, if input received is invalid for one second or more, or if engine RPM is 0. 

BR
Displays the brake fluid level in an analog/digital ratio value.
  
FUEL= Displays the code (0-255) for the fuel sender input to the HEC. The fuel gauge will display a filtered fuel level value. This filter will keep the pointer from moving suddenly or erratically. 
255= open send +/- 0 
232= full stop +/- 0 
215= Full mark +/- 10 
178= 3/4 mark +/- 8 
138= 1/2 mark +/- 7 
93= 1/4 mark +/- 5 
41= E mark +/- 4 
54= Low Fuel (0-59) 
0-18= short (0-20 max) 

OIL= Displays the code (0-250) for the oil pressure switch input to the HEC.
Oil pressure gauge will indicate present oil pressure. Normal oil pressure (greater than 6psi) will display a value between 000 and 176. A low oil pressure or an inoperative engine oil pressure switch (less than 6 psi) will display a value greater than 176. 

dEG'C= Display of engine temperature in Degrees C input from cylinder head temperature sensor.  49 C= "C" mark 
60 C= Normal band start 
120 C= Normal band end 
-40 C= No SCP message for 5 seconds 

BAT battery voltage Displays the code (0-255) for the battery voltage input to the HEC. Battery voltage gauge will indicate present battery voltage.

bAt ##.#
Displays present battery analog/digital voltage.

Some trucks show it as a value between 0-255
93-102 6.2-9.1 volts low voltage  
115-124= 8.5-10.7 volts (Normal band start)
215-225= 15.8-18 volts, (Norm band end)
230-241= 16.9-19.1 volts, high voltage 

rhEo= Displays the present decimal rheostat dimming input, 0-255  

rhi, rhS, rho
Alternating 1 second display of pulse width modulation (PWM) input duty cycle, SCP hexadecimal dimming step, output driver counts in hexadecimal.
  
CR= Displays the current RUN/START sense input. Display will show -h for high input with the ignition switch in the START position and -L for low input with the ignition switch in the RUN position. 

PA, Pb, PC, and Pd
Displays 8-bit hexadecimal value for the Port A, B, C, and D readings (used when requesting information from the hotline).

PE0-PE7
Displays 8-bit hexadecimal value for the Port E0-Port E7 in analog/digital readings

GAGE= Repeats the display cycle 

Monday, May 6, 2019

Avaya Nortel 1100 Series One Touch Dial

If you have an 1140 1120 1160 phone on SIP you can add a one touch dial button(s) to the phone with this procedure.

in the MAC address config file for the phone add in an entry with a file name of your choice

DEFAULT_CUSTOMKEYS_FILE onetouch.txt

In the same location as the config file for your phone create the file name that you chose to use.
I've used "onetouch.txt" as my example file.

In that file you can put in the following below.
the "INDEX" value is the location on the phone you want this to appear.  So if you want it to show up on button position #4 on your LCD screen.  Put in 4.
The target is the number you want it to dial and the server you are dialing through.  In my example when they press button 4, it will dial the number 41880 at the PBX on 10.1.100.210
TYPE = spdial  (speed dial)
SUBJECT is optional.
LABEL = what the description of the button is on the LCD screen of the phone

[key]
index=4
label=Intercom
target=41880@10.1.100.210
type=spdial 
subject=test

The save the file.

Reload the config

You should now get a little circle with the name "Intercom" on the phone.  Press it and it will dial the number.  You can use full dial numbers if you want as well, not just internal dialing.

Saturday, April 13, 2019

The Henhaoro G711HZA5

Henhaoro 7" Android Car Stereo GPS Navigation Lollipop 5.1 Touch Screen Radio No DVD No CD 2 DIN Resolution 1024x600 Head Unit


"Henhaoro" Android car Stereo model # G711HZA5


Henhaoro 7" Android Car Stereo GPS Navigation Lollipop 5.1 Touch Screen Radio No DVD No CD 2 DIN Resolution 1024x600 Head Unit

Appears to run a MediaTek MT8127 Cortex-A7 ARM processor.


Change the BOOTUP screen LOGO
Click on Setting ---> Auto settings ---> Factory settings-> pin: 44320-> LOGO

System is very responsive.
The GUI for Android is kind of small and doesn't seem to let me increase font size.  Apps that are designed for car use (big buttons, larger fonts) are harder to use.

You can connect keyboard/Mouse to the device and use it! Works fine.

TIP:
I connected a push button that is tucked under the dash board that will drop the power to the stereo when its pressed.  A small handful of times, the android software locked up.  There IS a recessed push button reset that you can press if you have a paper clip, but hard to do when driving.  Pressing the button drops the power to radio and I can do it when I'm driving.

Here are some screen shots.

GPS NAVIGATION MENU

GPS Navigation View

GPS Data View (diagnostics mode)

GPS Diagnostic View (diagnostics mode)

The GPS came with an external GPS antenna that you can mount inside the windshield (similar to)
DVR MENU

AM/FM Radio

A fantastic feature for some users is the ability to monitor your engine parameters in your car.  A big reason I wanted an Android stereo.

This stereo requires the use of an OBD2 WIFI type of adapter (BlueTooth OBD2 type adapters do NOT work with it.

Shown here is the app TORQUE which is connected to the engine showing a variety of live engine data.  Google "Torque App" and you'll see what you can do.

https://www.amazon.ca/gp/product/B07DM24VW9/ref=ppx_yo_dt_b_asin_title_o00_s00?ie=UTF8&psc=1


OBD2 WIFI adapter.  Purchased separately


 "HOME" screen in car mode.

Pressing the HOME button takes you into the Android desktop

Installed in a 2DIN dashboard (Ford F250)


 Installed SPOTIFY

Firmware/Software version screens

BlueTooth phone interface

Bluetooth interface

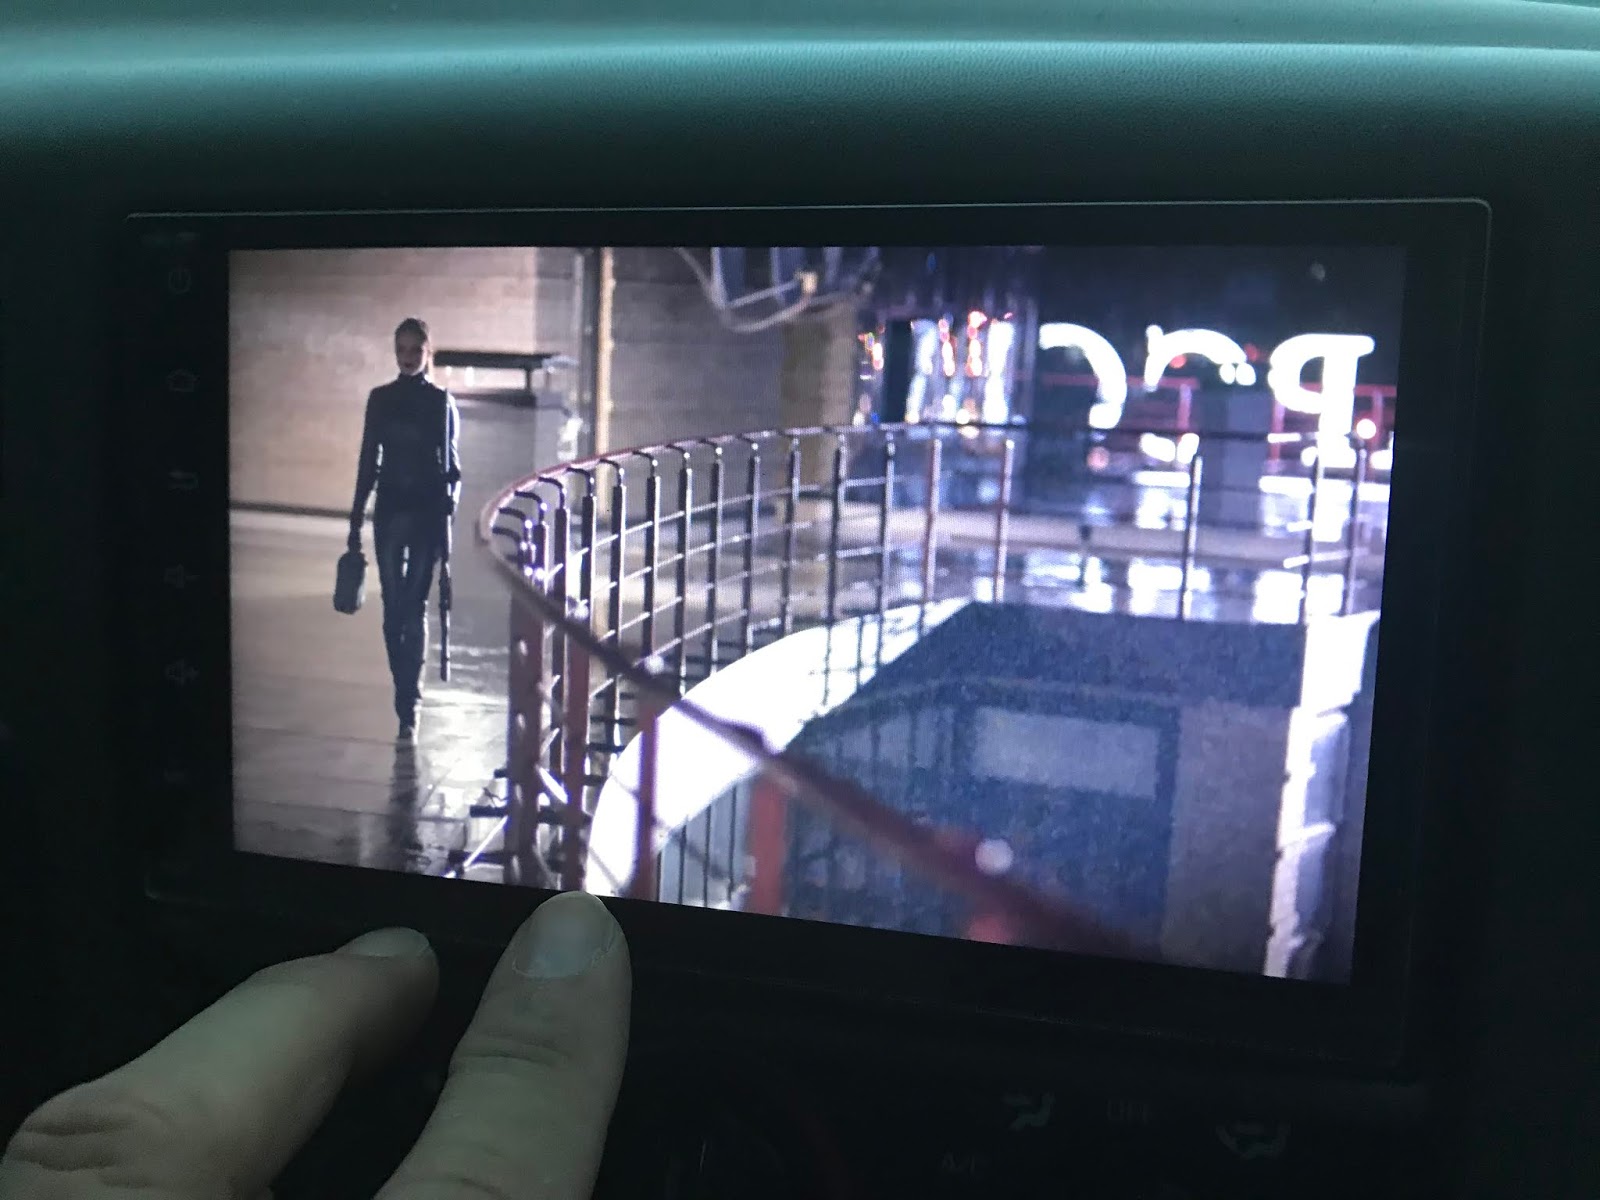
Plays Video

Interface when you connect to a device for Bluetooth music playback

If you have MP3's loaded into memory or on a USB key

 Able to cycle through running applications

You can slide down from the top and then adjust volumes, turn wifi on and off

Google play store

Steering Wheel Control SWC
\
File Explorer


Thursday, April 11, 2019

Telecom Pager SMS EMAIL

Bell: @txt.bell.ca

Bell MTS: @text.mtsmobility.com

Chatr: @pcs.rogers.com

Eastlink: @txt.eastlink.ca

Fido: @mms.fido.ca

Freedom: @txt.freedommobile.ca

Koodo Mobile: @msg.koodomobile.com

PC Mobile: @mobiletxt.ca

Public Mobile: @msg.telus.com

Rogers: @pcs.rogers.com

Sasktel: @sms.sasktel.com

TBayTel: @pcs.rogers.com

TELUS: @msg.telus.com

Virgin Mobile: @vmobile.ca

Wednesday, April 10, 2019

Windows UNIFI controller not starting

One day, out of the blue, the UnIFI controller stopped responding.  I think it had to do with a windows update.  Fought with it, then figured, at least a work around.

The workaround that fixed my issue was to copy/paste the UNFI directoy to a new folder and launch the app from there.  This fixed it for me.

Here's the steps I did.

Make sure that controller processes are stopped.  Since mine you have to manually double click the UNFI controller icon to start it, i just rebooted.

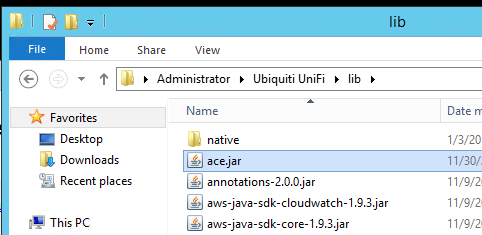
Once the PC came backup, i right clicked on the UNFI icon, selected PROPERTIES, then under "SHORTCUT" tab, i clicked on OPEN FILE LOCATION


Mine took me to
administrator/ubiquiti unifi/lib


I then clicked on ADMINISTRATOR in the file path window


I then right clicked on the Ubiquiti Unifi Folder, selected COPY then PASTE.
I renamed the copy folder to "Uniquiti Unifi2"

Then I went into the short cut and changed the target


Clicked on "OK" then double clicked the UNIFI controller icon and the application started for me.
Not sure WHY, but this worked for me.


IP SUBNET

Prefix size Network mask Usable hosts per subnet
/1128.0.0.02,147,483,646
/2192.0.0.01,073,741,822
/3224.0.0.0536,870,910
/4240.0.0.0268,435,454
/5248.0.0.0134,217,726
/6252.0.0.067,108,862
/7254.0.0.033,554,430
Class A
/8255.0.0.016,777,214
/9255.128.0.08,388,606
/10255.192.0.04,194,302
/11255.224.0.02,097,150
/12255.240.0.01,048,574
/13255.248.0.0524,286
/14255.252.0.0262,142
/15255.254.0.0131,070
Class B
/16255.255.0.065,534
/17255.255.128.032,766
/18255.255.192.016,382
/19255.255.224.08,190
/20255.255.240.04,094
/21255.255.248.02,046
/22255.255.252.01,022
/23255.255.254.0510
Class C
/24255.255.255.0254
/25255.255.255.128126
/26255.255.255.19262
/27255.255.255.22430
/28255.255.255.24014
/29255.255.255.2486
/30255.255.255.2522
/31255.255.255.2540
/32255.255.255.2550

Wednesday, March 20, 2019

Asternic Call Center Stats Tweaks

Asternic Call Center Stats PRO

Update displays to reflect a queue NAME versus a number.

Here we see Queue "5000", but instead of 5000, lets have it reflect a name.  In our case we'll make it show "Support" instead.


Select SETUP- PREFERENCES


Select ADD


You'll be presented with a table entry screen


"keyword" = dict_queue

"parameter" = 5000
(you put in whatever the queue number is you want to customize)

value = Support
(put in whatever name you want)


Save your changes

Now look at your queue in the reports


The value should now reflect the change you made.