Need to work from home? Maybe you need to use a wired only VOIP hardset but have no access, or reasonable access to run a wire to the router?
Here's a possible option for you using Windows 10 Internet Connection Sharing to connect a wired device(s) via an unused Ethernet port.
(Too Long Didn't Read)You can connect to the WiFi using your windows 10 machine, select internet connection sharing, share it to the Ethernet port and use that to plug in your phone, or devices. Remeber that you will need a way to power your IP phone.

DETAILS
First connect to your WiFi on your computer


IT MAY be possible for you to share a VPN account with the similar methodology. This would really depend on your VPN system used.
In this example, the logged in VPN account shows as an ethernet port. Its been shared to "Ethernet" port that has a VOIP hardset connected to it.

Here's a possible option for you using Windows 10 Internet Connection Sharing to connect a wired device(s) via an unused Ethernet port.
(Too Long Didn't Read)You can connect to the WiFi using your windows 10 machine, select internet connection sharing, share it to the Ethernet port and use that to plug in your phone, or devices. Remeber that you will need a way to power your IP phone.

DETAILS
First connect to your WiFi on your computer

Bring up your network connection list
Press the Windows key and the R key at the same time to open the Run box. Type ncpa.cpl and hit Enter and you can access Network Connections directly.

OR

then

Now you'll see something like this
In this example, you see a connection to the WiFi network "MyWifiNetwork" and an unconnected wired internet connection.
Right click on the WiFi link, select PROPERTIES
Select the "SHARING" tab
Select Allow other network users....
Click on the "Home networking connection" drop box
Select the name of the Ethernet connection of your computer
Select OK

You'll now see a "SHARED" text by your wireless connection

Now connect an Ethernet cable from your computer to the device you want to connect to your internet connection. Power on the device. It should now have internet access.
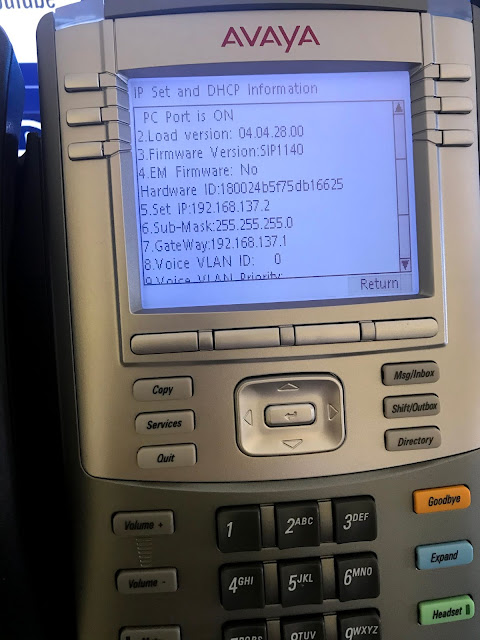
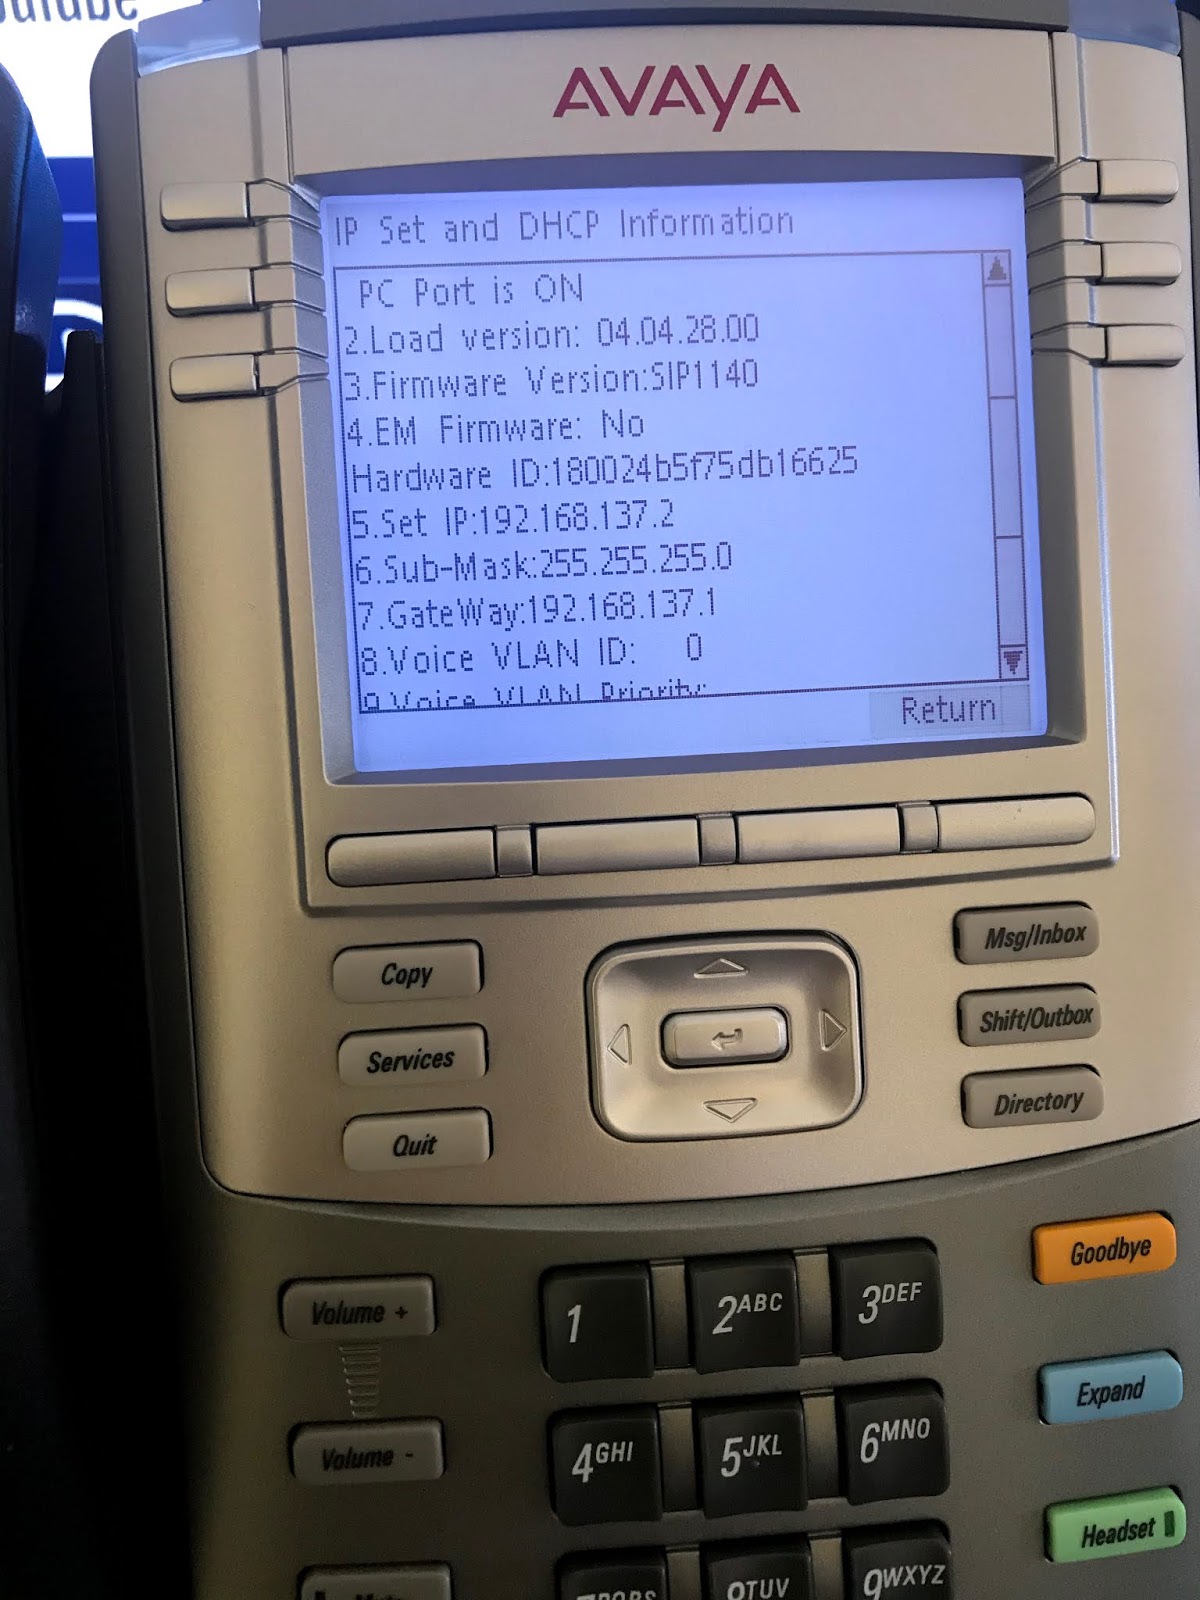
The device will get an IP address of 192.168.137.X
Here's a shot of a VoIP hardset connected to the internet via a laptops wireless connection having received an ip of 192.168.137.2
Yes, you can hook up an Ethernet switch to this connection and connect multiple devices. Even an additional WiFi node to give more WiFi coverage to an area.
ADVANCED
Its also possible, should the unlikely requirement be to alter this network address.
- Open a CMD prompt "AS ADMINISTRATOR"
- Enter REGEDIT and press enter key
- Select YES/OK to continue through the security warning dialog box
- On the Registry Editor window, on the left pane, go to HKEY_LOCAL_MACHINE\System\CurrentControlSet\Services\SharedAccess\Parameters
- In the Parameters right pane, double-click ScopeAddress then StandaloneDHCPAddress
- In the Edit String box, modify the IP address range of your choice in the Value data field
- Once done, click OK to close the box
- Close the Registry Editor window
- Restart the computer
IT MAY be possible for you to share a VPN account with the similar methodology. This would really depend on your VPN system used.
In this example, the logged in VPN account shows as an ethernet port. Its been shared to "Ethernet" port that has a VOIP hardset connected to it.
No comments:
Post a Comment
Feel free to leave a comment! If you have any information that you think should be included, please do so here and I'll get it added in.